There are times when you need to filter your inventory in ways that aren't "conventional" and adding icons/tags is a great way to make this happen.
Step 1 - adding your tag to VMS


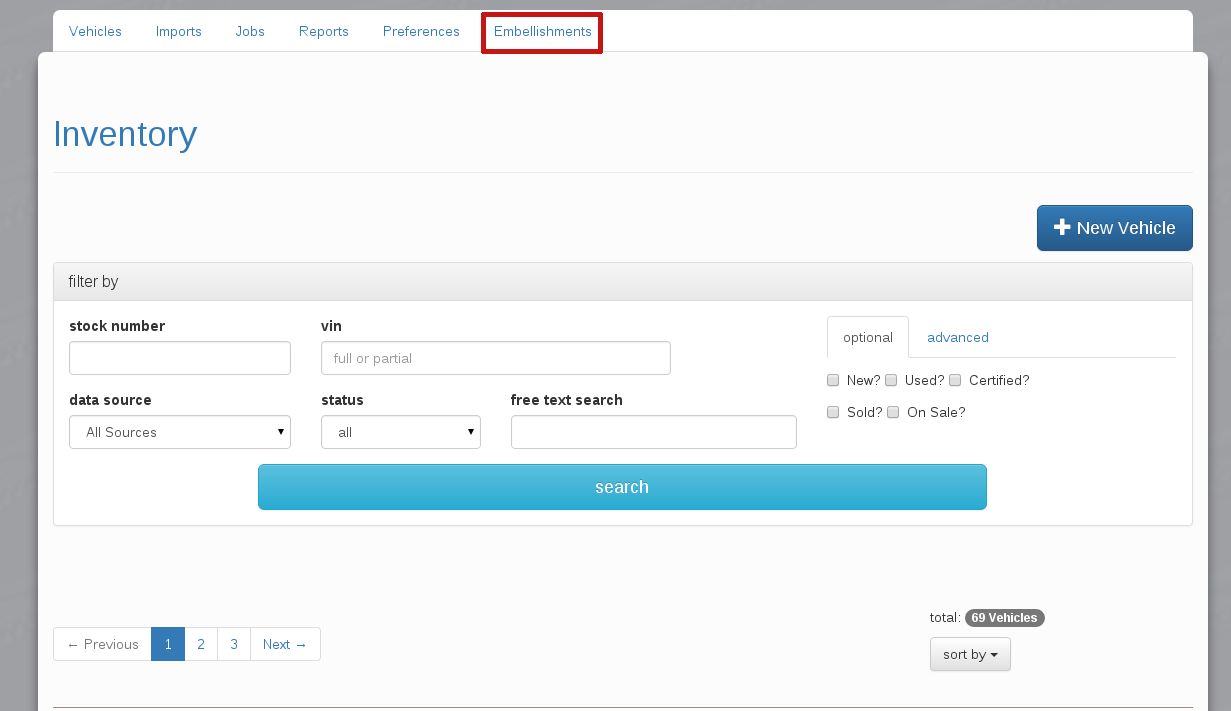
Starting from the VMS overview screen; select Automobiles or Vehicle Inventory (naming depends on when account was originally set up)
Select Embellishments
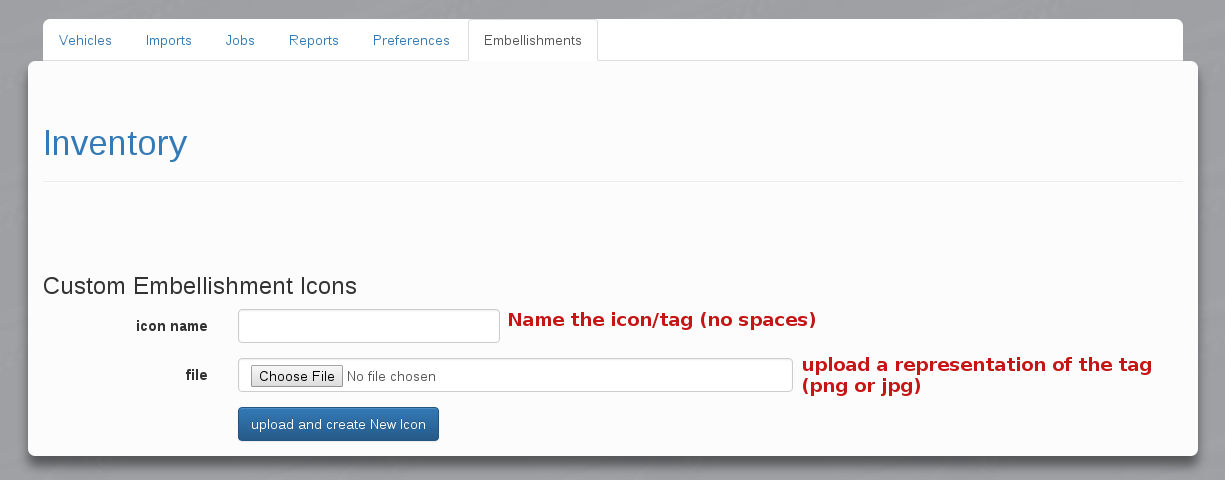
Add Custom Tag
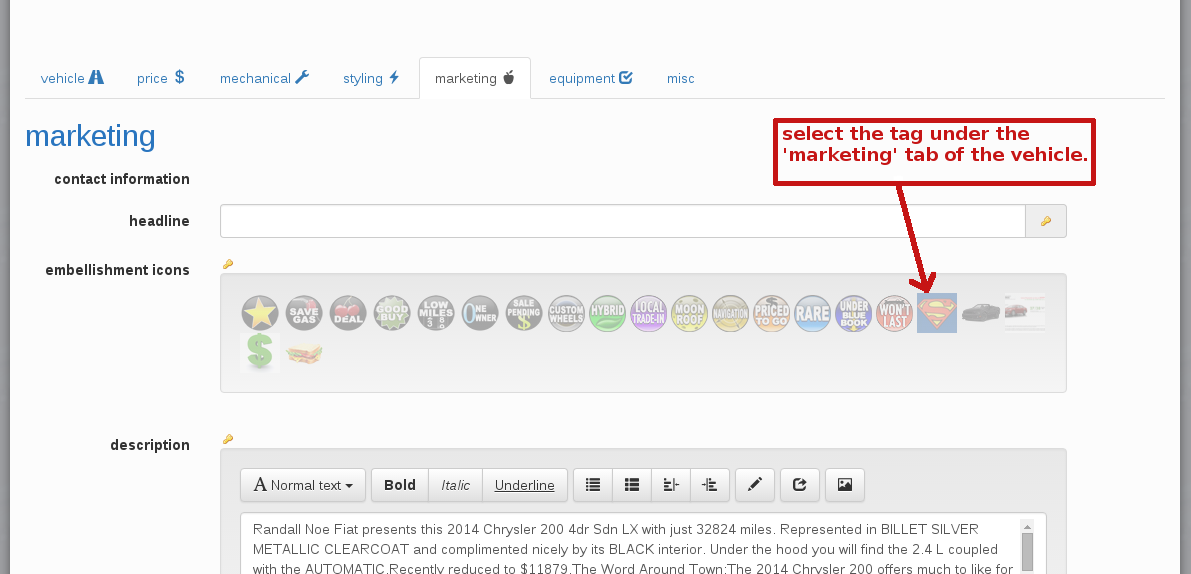
Add Tag to Vehicle
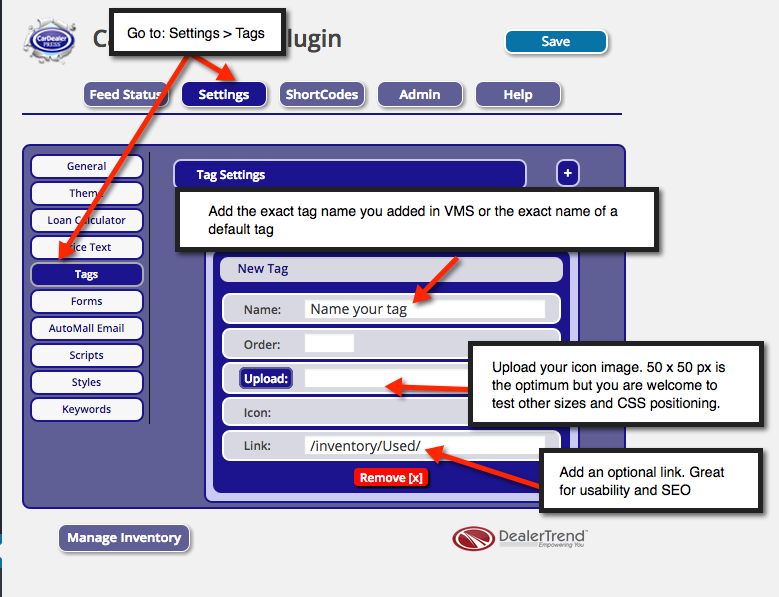
Step 2 - Adding icons in the CarDealerPress plugin
Once in Automobiles/Vehicle Inventory; click on Settings under Embellishment Icons Now you will upload your icon to the system and give it a name. Choose your name well as this will be both the alt tag for the image and the parameter for the URL, so make sure and keep your SEO keywords in mind as well as general usability. Also the icon that you add here will not show on the website (you will add that to the site separately) however it is helpful to have it be the same icon on the site for better usability. The next step is to add your icon to the website. This step is optional, as you may not want to have a visual representation of your tag.
Comments